Choose a reference you can judge
Use one clearly visible person or an original character you have permission to edit. Choose even lighting, a face large enough to inspect, and little overlap from other people. Keep clothing visible if it matters to your character.
Can you judge the details you want to keep?
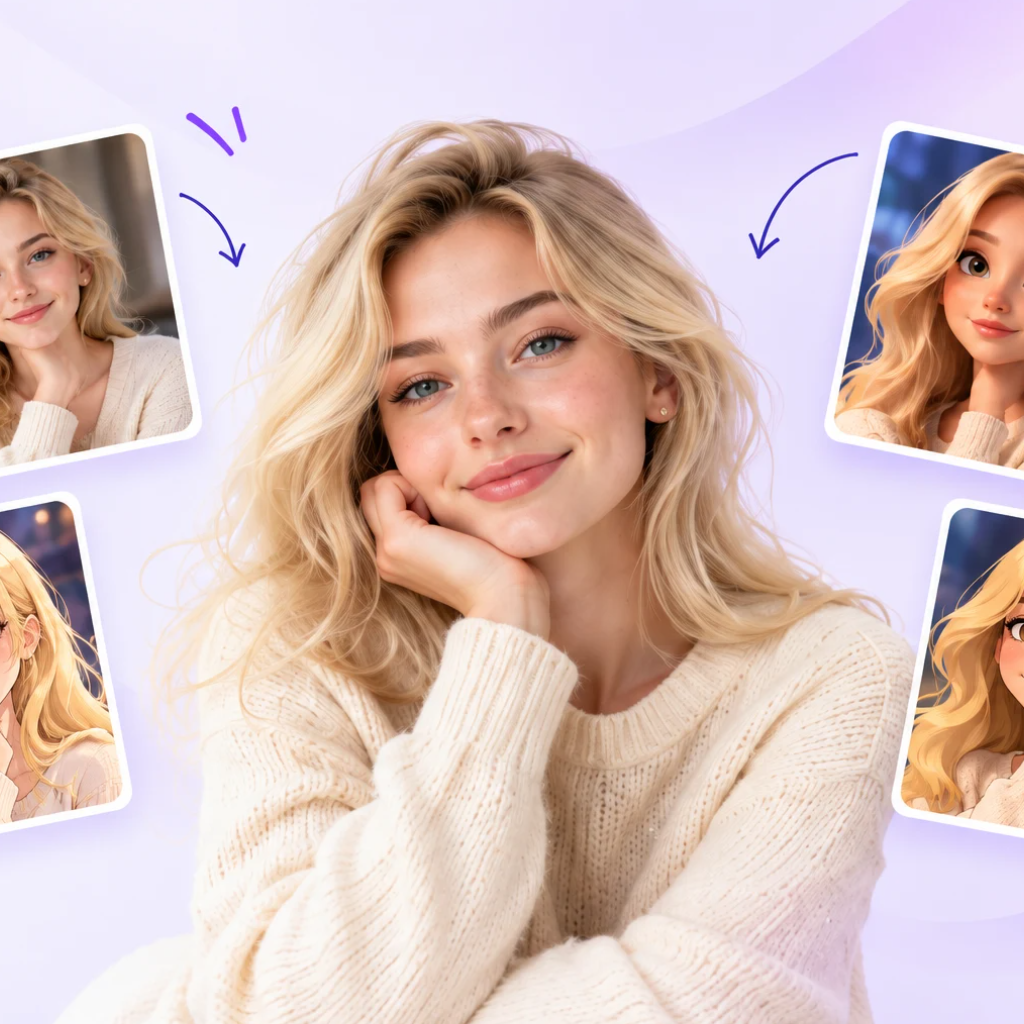
Before uploading, decide which person and which visible details are the reference. If a face is too small or hidden for you to inspect, you cannot reliably check it in the result either.
- Face or hair hidden
- Choose another permitted reference with those details visible. A prompt cannot verify a feature absent from the source.
- Several people or inset images
- Use the existing crop step to isolate the intended subject when possible. Keep clothing in the crop if it matters.
- Pose or clothing matters
- Keep enough of the body visible to compare it. A face-only reference cannot confirm the original shoes or back of a coat.
About this reference
The recorded input above contains the central fictional adult and surrounding artwork. The selection advice focuses on details you can inspect yourself; a controlled comparison of blur, face covering and cropping has not been recorded.
Upload, adjust once and choose a style
- Upload your reference. JPG, PNG or WebP, up to 10 MiB (10,485,760 bytes) and no larger than 8 megapixels. A character name is optional.
- Adjust and confirm. Crop, move, rotate and set the output once before entering the studio.
- Choose the medium. Browse the style gallery. Add optional details beside it; More options contains framing and other creation types.
For a focused starting point, see photo to anime, photo to cartoon, or photo to 3D character.
Add only the details you need
Start with the selected style and one clear request. Name an outfit, expression or setting only when it matters. Competing instructions make it harder to tell why the result changed.
Use the uploaded reference as the visual anchor for one character. Keep the visible face shape, hairline and hairstyle recognizable. Use the selected style. Half-body portrait, soft daylight, simple background, one character and no lettering.
This suggested instruction has not been tested as written. For an exact tested prompt, open a recorded case below.
Check what stayed and what changed
Compare the face shape, hairline and hairstyle first. Then check pose, clothes, framing and medium. A style can be successful while the face is less recognizable.
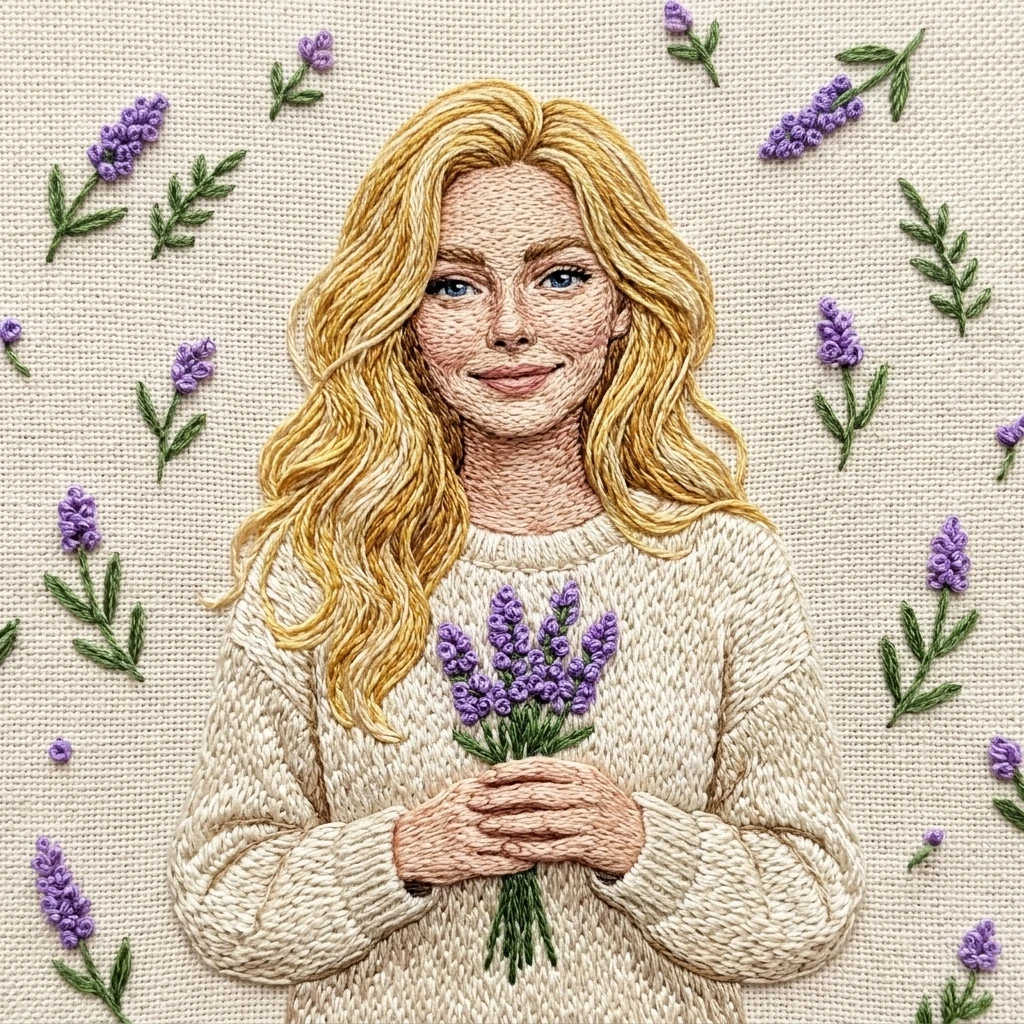
A recorded embroidery example
Golden hair and a light knit top remain visible. The skin and clothing become stitches, and the pose changes to holding flowers. Compare those changes with your own character's visible details.
See the full input and tested prompt →Make one targeted correction
Plan one correction you can check.
Choose a mismatch to explore a suggested adjustment. Decide what would count as an improvement before another attempt; these suggestions have not been tested as a repair sequence.
Possible explanation
Small, hidden or stylized facial details are harder to compare. A new hairstyle request can also compete with the features you wanted to keep.
One adjustment to try
Return to your saved main reference. Keep the style fixed and remove one competing appearance request before another Single image attempt.
How to check it
Compare the face shape, visible hairline and hairstyle against that same reference. Check those details before judging the overall look.
A new Single image costs 4 credits; Edit costs 4. Review the task cost in Create before submitting.
Keep a short attempt record
- Note the reference, style, framing, instruction and task ID.
- Write down the one detail you want to change and what must stay.
- After the next result, compare the same visible features with the same source.
- Record extra changes and failures too. Note whether the intended detail improved.
Credits, permissions and limits
A standard single image costs 4 credits. The one-time 4-credit starter allowance covers one standard image. The job reserves credits before processing; successful images consume them and failed images release their reservation. If submission is uncertain, check its status before sending another job.
Review your permission to use the photo and every generated image before publishing it. Exact likeness is not guaranteed. A 3D style returns a 2D image.
Current pricing · Models and limits · Make a transparent-background character